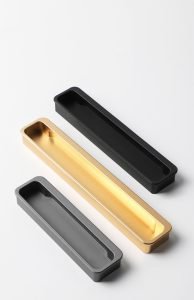
Every year, we see containers of furniture hardware returned from Southeast Asian markets because handles developed white pitting or lost their finish within months ASTM B117 1. Humid coastal warehouses, salty air, and aggressive cleaning chemicals turn a small quality gap into a massive financial loss. On our production floor in Foshan, we learned this lesson the hard way over 18 years.
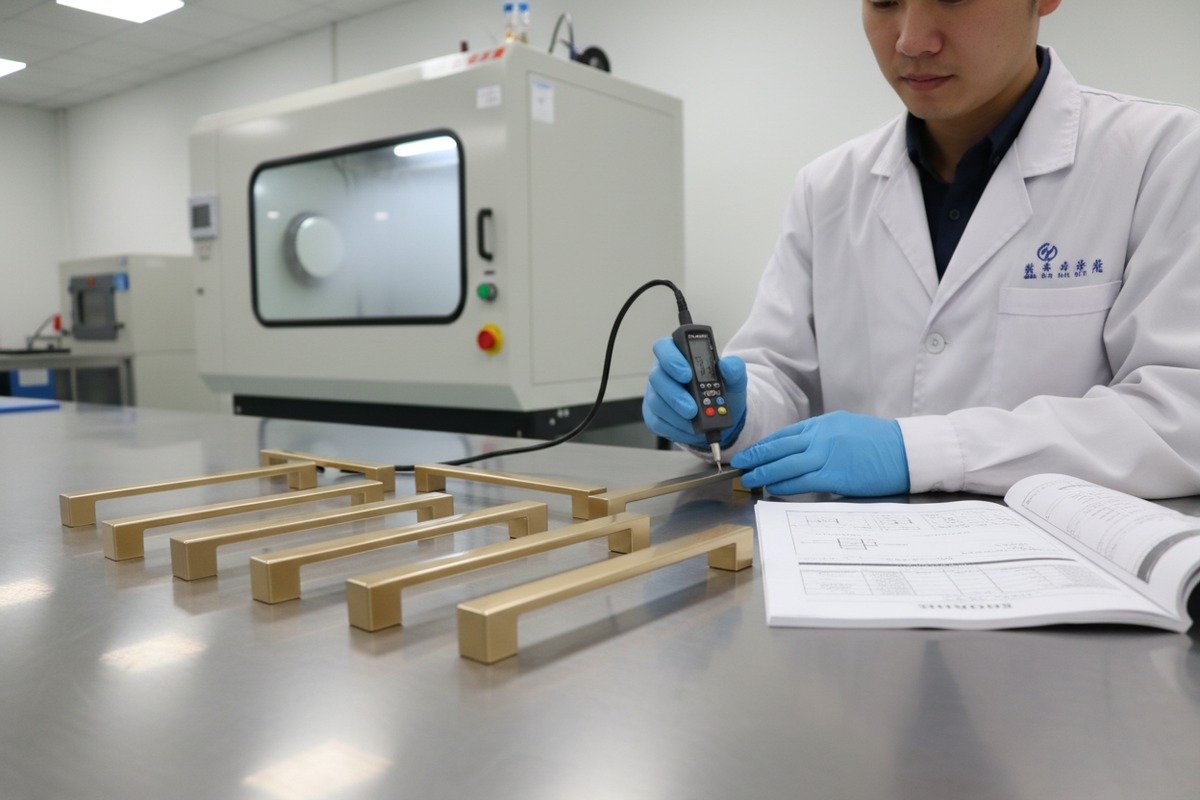
To test aluminum cabinet handle corrosion resistance and durability, furniture factories should conduct salt spray testing per ASTM B117 for 200+ hours, run cyclic humidity exposure at 95% RH, perform mechanical fatigue tests of 50,000–100,000 pull cycles, and verify anodizing thickness reaches 10–25 microns using an eddy current gauge before approving bulk production.
The rest of this article walks you through each test method step by step ISO 9227 2. You will learn exactly what equipment you need, what pass/fail criteria to use, and how to set up an in-house testing workflow that catches defects before they reach your customers.
How do I verify the salt spray test results for my aluminum cabinet handles?
When we first started exporting handles to Vietnam and the Middle East, buyers kept asking for salt spray certificates Taber abrasion testing 3. We had the reports, but we did not fully understand what the numbers meant or how to spot a misleading result.
To verify salt spray test results, check that the test follows ASTM B117 or ISO 9227, confirm the solution uses 5% NaCl at 35°C, ensure the exposure duration matches your product's end-use environment, and inspect samples for pitting deeper than 0.5mm, blistering, or weight loss exceeding 1% post-test.
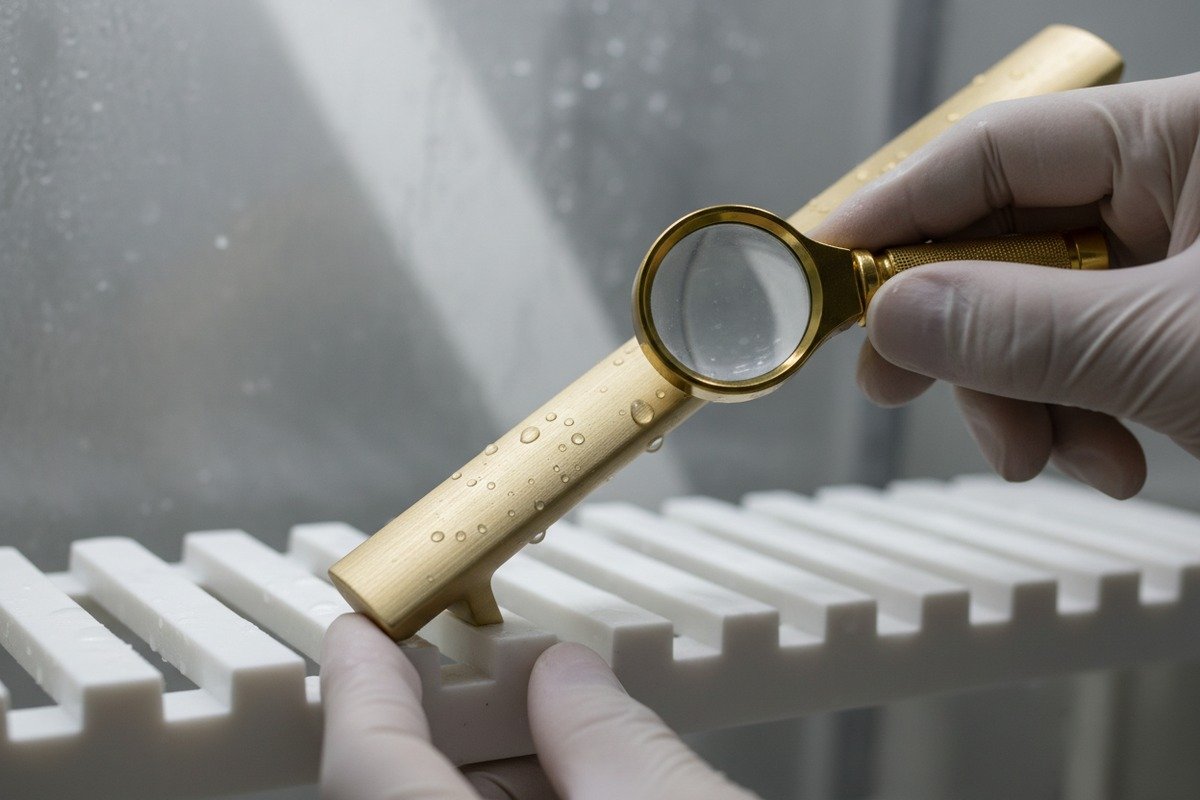
Salt spray testing is the most widely used corrosion test for aluminum hardware adhesion cross-cut tests per ASTM D3359 4. But not all salt spray reports are created equal. Here is what you need to know to read and verify them properly 6063-T5 alloy 5.
Understanding the Salt Spray Test Setup
A salt spray chamber creates a controlled fog of saltwater solution. The standard calls for 5% sodium chloride (NaCl) dissolved in deionized water, maintained at a temperature of 35°C ± 2°C. The fog settles on the test specimens continuously. Handles are placed inside the chamber at a 15–30° angle from vertical so the solution runs off naturally.
The duration of exposure depends on the intended market. For indoor kitchen handles, 96–200 hours is typical. For coastal or tropical climates, factories should push to 500–1000 hours.
Key Parameters to Check on a Test Report
| Parameter | Required Value | Red Flag |
|---|---|---|
| Salt concentration | 5% NaCl ± 1% | Below 4% weakens the test |
| Chamber temperature | 35°C ± 2°C | Readings outside range invalidate results |
| pH of solution | 6.5–7.2 | Acidic pH accelerates false corrosion |
| Exposure duration | 96–1000 hours | Less than 96 hours is insufficient |
| Sample angle | 15–30° from vertical | Flat placement traps solution |
| Pass criteria | No pitting > 0.5mm | Any deep pit means failure |
Reading the Results Like a Pro
After the test, remove the handles and rinse them with clean water. Let them dry. Inspect every surface under magnification. Look for white powder (aluminum oxide), pitting, blisters, or discoloration. Weigh the handles before and after the test. Weight loss above 1% signals material degradation.
Our QC team photographs each sample at 0 hours, 48 hours, and at the final hour. This creates a visual timeline. If your supplier provides only a "pass/fail" statement without photos or detailed data, ask for the raw inspection records. A credible test lab will always provide them.
Common Mistakes in Salt Spray Verification
One issue we see often: suppliers run the test on handles before anodizing or powder coating. That tells you nothing about the finished product's performance. Always insist on testing the final, coated handle. Another mistake is accepting results from a chamber that was not calibrated recently. Ask for the chamber's calibration certificate. Most labs recalibrate every 6 months.
Also, remember that salt spray testing is an accelerated test. It does not perfectly replicate real-world conditions. It is a comparative tool. If Handle A lasts 300 hours and Handle B lasts 150 hours under identical conditions, Handle A is more corrosion-resistant. But you cannot say 300 hours equals 10 years of real life. Use cyclic corrosion testing for more realistic predictions.
What steps should I take to test the finish durability of my furniture hardware?
On our production line, we once shipped 10,000 champagne gold handles to a furniture factory in Malaysia. Within three months, the finish on 8% of the handles had worn through at the grip point. That single batch cost us more in replacements than six months of proper testing would have.
To test finish durability, conduct Taber abrasion testing for 500–2000 cycles, perform chemical resistance checks with common household cleaners, run adhesion cross-cut tests per ASTM D3359, and execute UV exposure tests for 200+ hours to verify the coating withstands daily use, cleaning, and sunlight without peeling, fading, or scratching.
Finish durability is about more than just looks. A handle that loses its color or develops scratches within weeks will generate complaints, returns, and damage to your brand. Here is how to test it properly.
Abrasion Resistance Testing
The Taber Abraser is the industry standard. Mount the handle's surface panel flat on the turntable. Apply CS-10 or CS-17 abrasive wheels with a 500g or 1000g load. Run the machine for 500 to 2000 cycles depending on the finish type.
After the test, measure the coating thickness lost. For anodized aluminum, acceptable loss is under 5 microns per 1000 cycles. For powder-coated surfaces, check for breakthrough to bare metal. No breakthrough after 1000 cycles is a solid pass.
We also use a simpler in-house method: rub the handle surface with a rough cloth soaked in isopropyl alcohol for 100 strokes. If the color transfers to the cloth, the finish has poor adhesion.
Chemical Resistance Testing
Furniture handles encounter cleaning agents daily. Test the finish against these common chemicals:
| Chemical Agent | Concentration | Exposure Time | Pass Criteria |
|---|---|---|---|
| Isopropyl alcohol | 70% | 30 minutes | No discoloration or softening |
| Household bleach | 5% sodium hypochlorite | 15 minutes | No blistering or color change |
| Ammonia-based cleaner | Standard retail | 30 minutes | No etching or dulling |
| Vinegar (acetic acid) | 5% | 60 minutes | No surface reaction |
| Acetone | 100% | 10 minutes | No coating dissolution |
Apply the chemical to a cotton pad. Place it on the handle surface. Cover with a glass dish to prevent evaporation. After the specified time, remove the pad, rinse the area with water, and inspect under good lighting.
Adhesion Testing (Cross-Cut Method)
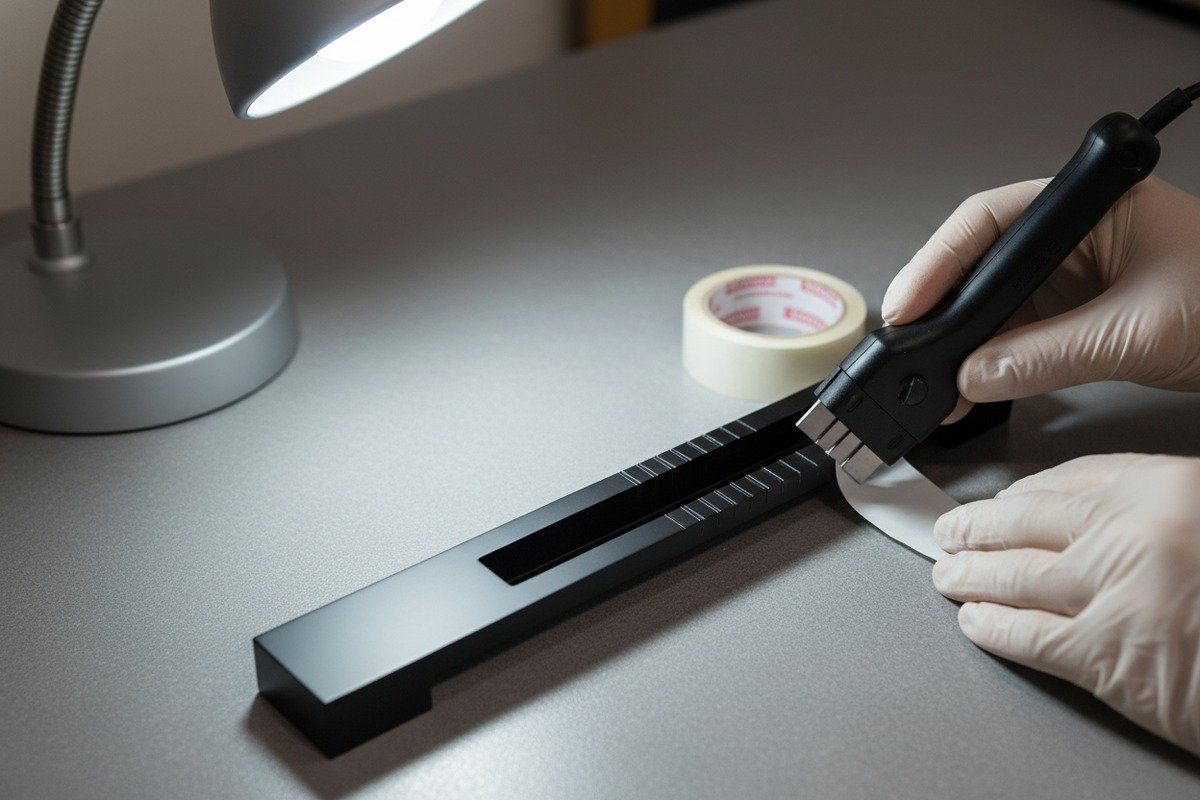
Use a sharp blade to cut a grid of 1mm squares into the coating. Press standardized adhesive tape firmly over the grid. Pull the tape off at a 60° angle in one quick motion. Inspect the grid.
Under ASTM D3359, classification 4B or 5B means excellent adhesion — less than 5% of the coating was removed. Anything below 3B is a failure. This test is fast, cheap, and extremely revealing. We run it on every new color batch before shipping.
UV and Weathering Resistance
For handles used near windows or in showrooms, UV exposure matters. Place samples in a QUV accelerated weathering tester 6. Run UVB-313 lamps at 60°C for 200–500 hours with alternating condensation cycles at 50°C. After exposure, compare color against the original using a spectrophotometer. A Delta E (ΔE) value below 1.0 means the color change is invisible to the human eye. Below 2.0 is acceptable for most furniture applications. Above 3.0 is a failure.
Our engineers found that champagne gold and rose gold finishes are the most vulnerable to UV fading. If your market includes sunny regions, this test is non-negotiable.
How can I ensure the aluminum profiles I source will resist corrosion in humid climates?
We supply handles to furniture factories across Southeast Asia — Thailand, Indonesia, the Philippines. These are some of the most humid markets in the world, with relative humidity regularly exceeding 85%. When we began exporting to these regions, we quickly learned that our standard finishing process was not enough.
To ensure aluminum profiles resist corrosion in humid climates, specify 6063-T5 alloy for superior corrosion resistance, require anodizing thickness of 15–25 microns, demand mill certificates verifying alloy composition, conduct 14–30 day humidity chamber tests at 95% RH and 50°C, and add a post-anodizing sealing quality check using a dye spot test.

Sourcing the right aluminum alloy and verifying the surface treatment are the two most important things you can do. Let me break this down.
Choosing the Right Alloy
Not all aluminum is the same. The alloy composition directly affects corrosion resistance. For furniture handles and profiles, two alloys dominate:
| Property | 6063-T5 | 6061-T6 |
|---|---|---|
| Corrosion resistance | Excellent | Good |
| Strength (tensile) | 186 MPa | 310 MPa |
| Extrudability | Excellent | Moderate |
| Typical use | Handles, trim, profiles | Structural components |
| Anodizing quality | Superior, uniform finish | Good, slightly less uniform |
| Cost | Lower | Higher |
For cabinet handles, 6063-T5 is the best choice in almost every case. It extrudes cleanly, anodizes beautifully, and has naturally high corrosion resistance. We use it for over 90% of our handle production.
When you receive aluminum from a supplier, always ask for the mill certificate. This document shows the exact chemical composition of the alloy. Verify the silicon and magnesium content falls within the 6063 specification (Si: 0.20–0.60%, Mg: 0.45–0.90%). If the supplier cannot provide a mill cert, that is a serious red flag.
Anodizing Thickness Matters
Anodizing creates a hard, protective oxide layer on the aluminum surface. The thickness of this layer determines how well it resists corrosion. For indoor use in dry climates, 10 microns may be enough. For humid climates, you need 15–25 microns.
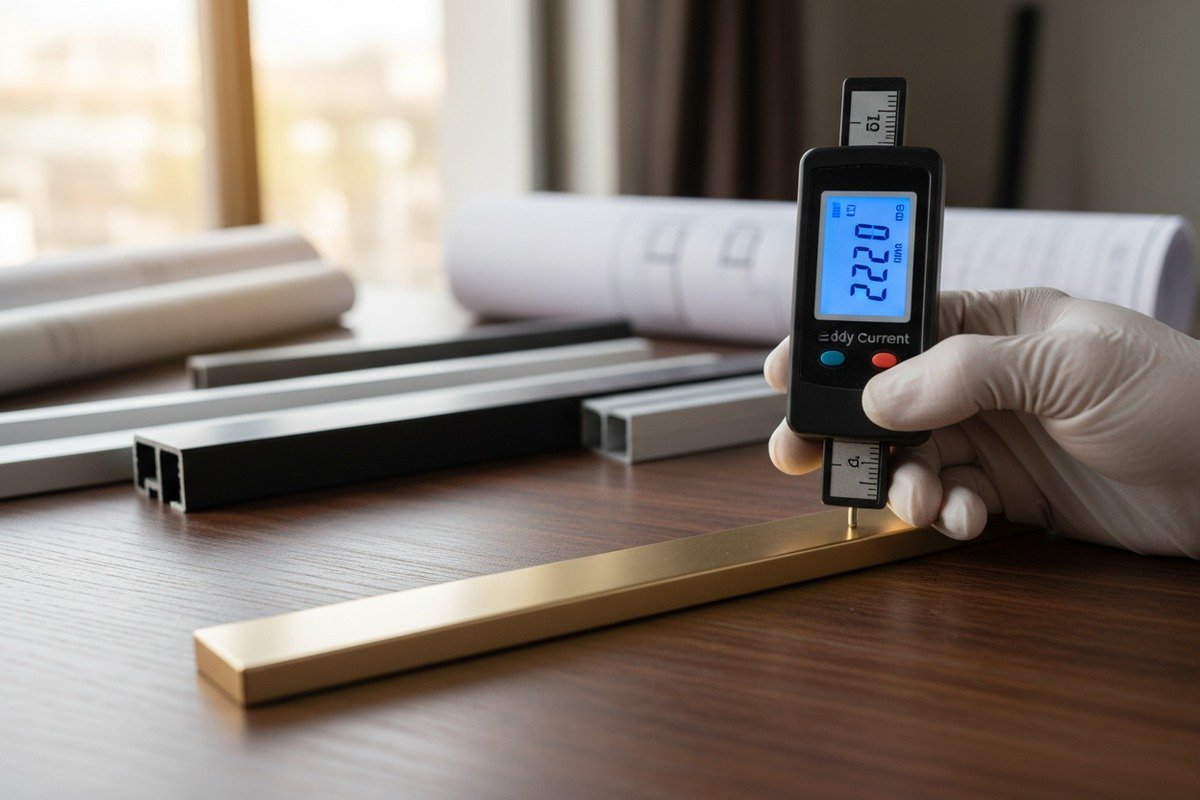
Measure the anodizing thickness 7 with an eddy current gauge. This handheld tool is inexpensive (around $200–$500) and gives instant readings. Take measurements at five points on each handle: both ends, the center, and two midpoints. All readings should fall within specification.
The Sealing Quality Check
After anodizing, the porous oxide layer must be sealed. Poor sealing leaves microscopic holes that allow moisture to penetrate. The dye spot test is a simple way to check sealing quality. Place a drop of acid dye solution on the anodized surface. Leave it for one minute. Wipe it off. If the dye stains the surface, the sealing is incomplete.
We run this test on incoming batches from our anodizing line every two hours. It takes 30 seconds and has saved us from shipping poorly sealed handles more than once.
Humidity Chamber Testing
For the most realistic assessment, place finished handles in a humidity chamber set to 95% RH at 50°C. Run the test for 14–30 days. Inspect daily for any signs of white spots, oxidation, or surface changes.
This test simulates months of exposure to tropical humidity in a compressed timeframe. If a handle survives 30 days in this chamber with no visible degradation, it will perform well in markets like Jakarta, Bangkok, or Jeddah.
Galvanic Corrosion Prevention
One often-overlooked issue: when aluminum handles are mounted with steel screws or placed against dissimilar metals, galvanic corrosion 8 can occur. The aluminum corrodes preferentially. To prevent this, use stainless steel fasteners (304 or 316 grade) and place a nylon washer between the handle and any non-aluminum surface. We include nylon washers in our packaging for humid-market orders. It costs almost nothing but eliminates a common failure mode.
Can I request a custom sample to test the quality before placing my bulk order?
Over the past 18 years, we have shipped tens of thousands of samples to furniture factories and building material distributors. The ones who test samples thoroughly before ordering always end up with fewer quality disputes. The ones who skip this step often regret it.
Yes, you can and should request custom samples before bulk ordering. A reliable supplier will provide 2–5 finished samples in your specified alloy, finish, and dimensions within 7–15 days, allowing you to run in-house corrosion, durability, and fit tests before committing to production quantities.
Sampling is the single most cost-effective quality assurance step. Here is how to make the most of it.
What to Specify When Requesting Samples
Be specific. A vague request like "send me a sample handle" gives the supplier room to send their best piece, which may not represent typical production quality. Instead, specify:
- Exact alloy (e.g., 6063-T5)
- Surface treatment and color (e.g., anodized champagne gold, 20 microns)
- Dimensions and tolerances (e.g., 160mm center-to-center ± 0.5mm)
- Quantity (request 3–5 pieces to allow destructive testing)
- Packaging requirements for the sample shipment
At our facility, we provide custom samples within 7–10 days for standard profiles, or 10–15 days for fully new designs. We include a mini material certificate with each sample batch.
Your In-House Sample Testing Checklist
You do not need a full laboratory to test samples effectively. Here is a practical checklist any furniture factory can follow:
| Test | Equipment Needed | Cost | Time | What It Reveals |
|---|---|---|---|---|
| Anodizing thickness | Eddy current gauge 9 | $200–$500 | 5 minutes | Surface protection level |
| Cross-cut adhesion | Blade + ASTM tape | $20 | 10 minutes | Coating bond strength |
| Dye spot (seal check) | Acid dye solution | $30 | 2 minutes | Anodizing seal quality |
| Mini salt spray | Small chamber or salt water soak | $50–$200 | 24–48 hours | Basic corrosion resistance |
| Dimensional check | Calipers + go/no-go gauge | $50–$100 | 10 minutes | Manufacturing precision |
| Screw pull-out | Torque wrench + mounting board | $30 | 15 minutes | Fastener hole integrity |
| Visual inspection | Magnifying glass + good light | $10 | 15 minutes | Surface defects, finish uniformity |
What to Do If the Sample Fails
If the sample fails any test, do not simply reject the supplier. Share the specific test data with them. A good manufacturer will want to know exactly what went wrong so they can fix it. When we receive failure feedback from a buyer, our engineering team analyzes the root cause within 48 hours and sends a corrective action report.
Common causes of sample failure include: under-specified anodizing thickness, contaminated anodizing bath, incorrect alloy batch, or inadequate curing of powder coat. Most of these are fixable. If the supplier cannot explain the failure or refuses to resubmit improved samples, then it is time to find a different source.
Matching Samples to Bulk Production
The real challenge is ensuring bulk production matches the approved sample. Insist on a "golden sample" agreement. Keep two identical approved samples — one with you, one with the supplier. During production, QC inspectors compare random pulls against the golden sample for color, finish, and dimensions.
We also recommend third-party pre-shipment inspection at AQL 2.5 10 for major defects. Pull 80 units from a 5,000-piece batch. Check for corrosion spots, finish inconsistencies, dimensional errors, and packaging integrity. This adds a small cost but prevents container-load surprises.
Our approach is straightforward: we encourage every buyer to test samples destructively. Break them, scratch them, soak them. It is better to destroy five handles in testing than to discover 5,000 defective handles in your warehouse.
Conclusion
Testing aluminum cabinet handles for corrosion resistance and durability is not optional — it is the foundation of a reliable furniture hardware supply chain. Start with salt spray and adhesion tests, verify your alloy and anodizing specs, and always test custom samples before committing to bulk.
Footnotes
1. Explains the standard practice for operating salt spray (fog) apparatus. ↩︎
2. Details the international standard for salt spray corrosion tests in artificial atmospheres. ↩︎
3. Describes standardized method to measure wear resistance of coated surfaces using abrasive forces. ↩︎
4. Standard for testing adhesive strength of coatings and paints on a substrate. ↩︎
5. Medium-strength aluminum alloy known for excellent surface finish and corrosion resistance. ↩︎
6. Reproduces damage from natural sunlight, rain, and dew using UV light and moisture. ↩︎
7. Provides technical details and thickness standards for various types of anodic coatings. ↩︎
8. Electrochemical process where one metal corrodes preferentially when in contact with another in an electrolyte. ↩︎
9. Nondestructively measures thickness of nonconductive coatings on nonferrous metal substrates. ↩︎
10. Acceptable Quality Level 2.5 defines the maximum acceptable defective items in a sample. ↩︎