Every week, our sales team receives inquiries from wholesalers and furniture factories asking the same thing: “Can you put my logo on these handles?” The answer is almost always yes — but the real challenge is getting the result to look exactly the way you imagined.
To get your brand logo printed on aluminum furniture handles from China, you need to specify the branding method, provide high-resolution vector artwork, define the exact logo size and placement, request a pre-production sample for approval, and lock every detail into a written specification before mass production begins.
Logo branding on aluminum handles is a routine OEM service in China 1. Most factories do it daily. But buyers often receive disappointing results — not because the factory lacks skill, but because the instructions were vague. This article walks you through the exact workflow, from choosing a printing method to inspecting the finished batch, so your branded handles come out right the first time.
When we consult with new clients about branding their handles, the first question we always ask is: "What kind of look do you want?" The method you choose shapes how premium, durable, and visible your logo will be on the finished product Stamping or embossing 2.
For a premium look on aluminum furniture handles, laser engraving is the most popular choice because it creates a permanent, precise mark that resists wear, works on curved and flat surfaces, and does not alter the handle's surface finish or color consistency.
Understanding the Main Branding Methods
There are five common ways to put a logo on an aluminum handle Pantone color codes 3. Each has different strengths, costs, and visual effects. Let me break them down clearly.
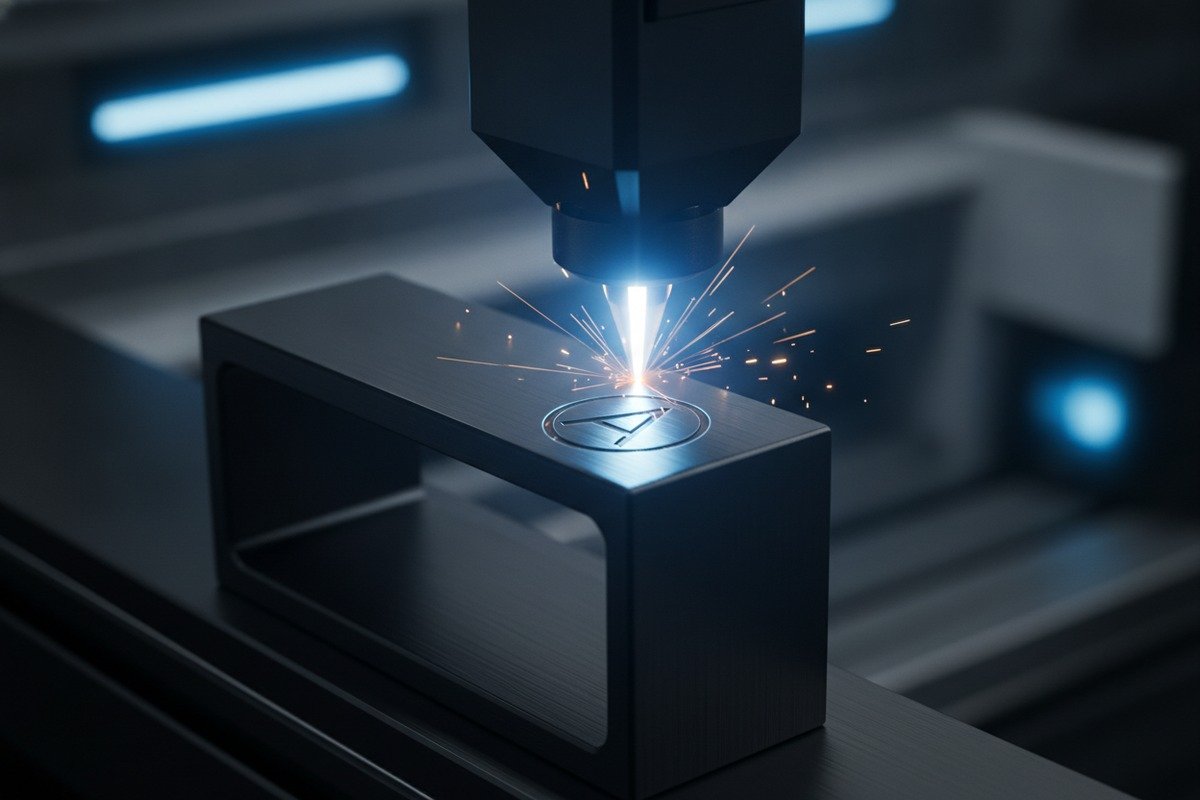
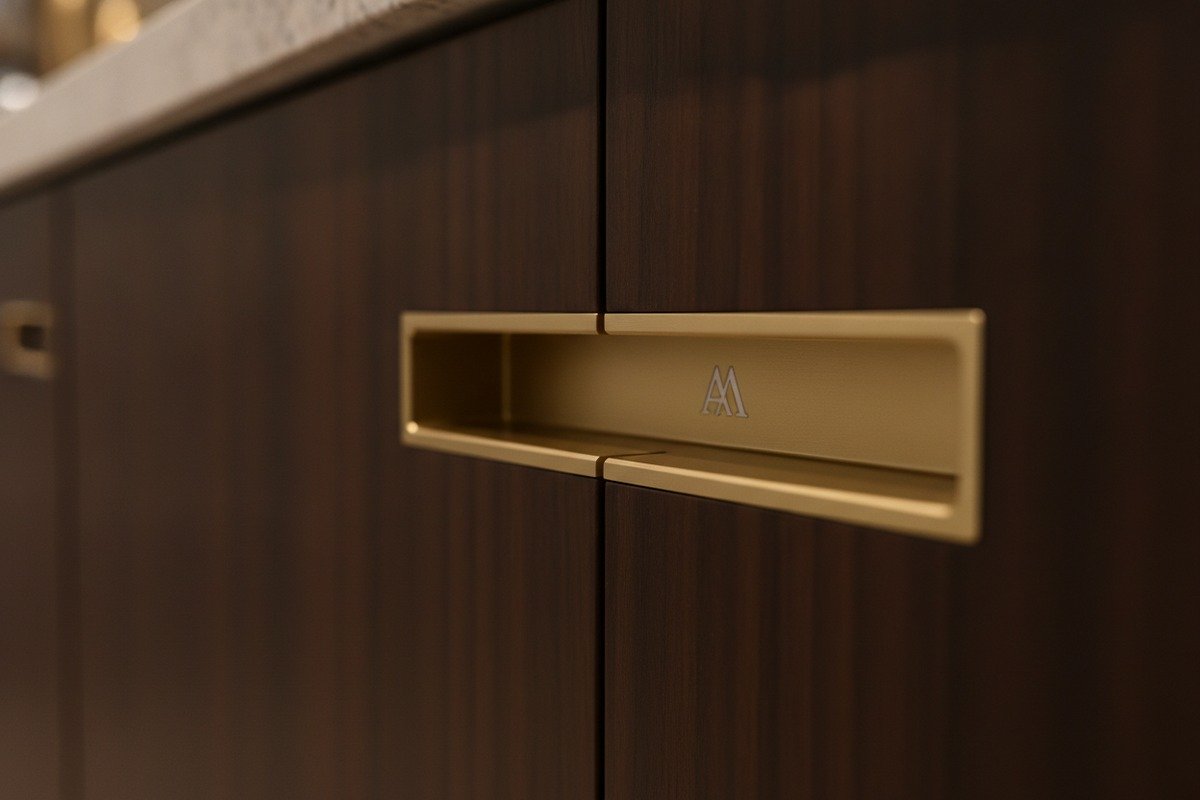
Laser engraving uses a focused beam to etch your logo directly into the aluminum surface pre-production sample 4. It produces a clean, sharp mark with fine detail. The result is permanent — it will not fade, peel, or wash off. This is why most of our mid-to-high-end clients prefer it for recessed cabinet handles and architectural pulls.
Silk-screen printing applies ink onto the surface through a mesh stencil. It works well for flat areas and allows color logos. However, the ink layer sits on top of the surface, so it can wear over time with frequent use, especially on handles that are touched daily.
Pad printing uses a silicone pad to transfer ink from an etched plate onto the handle. It works on slightly curved surfaces. Like silk screening, it adds a color layer, but it is less durable than engraving on a high-use product like a furniture handle.
Stamping or embossing presses your logo into the metal or raises it from the surface. This requires a custom die, which adds upfront tooling cost. It gives a very high-end tactile feel but is only practical for simpler logo designs.
Packaging-only branding means you skip marking the handle itself and instead print your logo on the box, bag, or label. This is the lowest-cost option and works if you want branding for shelf appeal without permanently marking the hardware.
Method Comparison Table
| Method | Durability | Color Options | Best Surface | Typical Setup Cost | Visual Effect |
|---|---|---|---|---|---|
| Laser engraving 5 | Permanent | Monochrome (metal tone) | Anodized, brushed, matte | Low to none | Clean, subtle, premium |
| Silk-screen printing 6 | Moderate | Full color | Flat surfaces | Low (screen fee) | Bold, visible |
| Pad printing 7 | Moderate | Full color | Curved or irregular | Low (plate fee) | Detailed, colorful |
| Stamping / embossing | Permanent | None (texture only) | Flat metal | High (die cost) | Tactile, luxury |
| Packaging only | N/A | Full color | N/A | Low | Shelf presence only |
Which Method Works Best With Aluminum Handle Finishes?
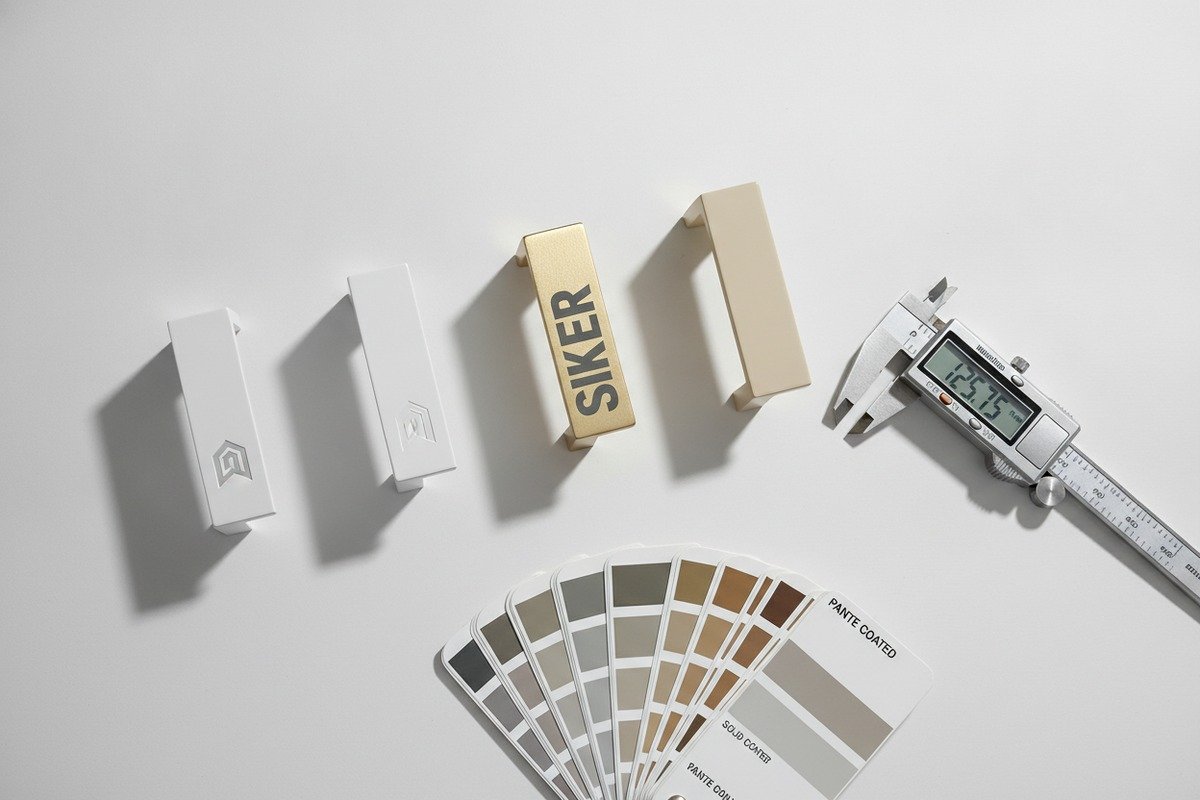
The finish on your handle matters a lot. A champagne gold anodized handle, for example, responds beautifully to laser engraving because the laser reveals a contrasting layer beneath the anodized coating. The result is a subtle, elegant mark that feels integrated into the product rather than stamped on top.
For matte black or charcoal grey powder-coated handles 8, silk-screen printing in a lighter color can create a striking contrast. But you need to confirm with the supplier that the ink bonds well to the specific coating. If the powder coat is too smooth, ink adhesion can be weak.
Our recommendation for most furniture handle buyers is simple: if your logo is one color and you want durability, go with laser engraving. If you need a multi-color logo or a very large graphic, consider silk-screen printing on flat surfaces only. And always ask the factory to test the method on your specific handle finish before committing to a full order.
Will adding my own logo to the handles significantly increase my sourcing costs or MOQs?
One concern we hear from nearly every first-time buyer is: "How much more will this cost me?" It is a fair question, and the honest answer is that logo branding on aluminum handles is usually far more affordable than most buyers expect.
Adding a custom logo to aluminum handles typically adds only a small one-time setup fee and little to no increase in unit price, but suppliers may require a higher MOQ for branded orders — often 200 to 500 pieces — compared to stock, unbranded items.
Breaking Down the Real Costs
Let me walk you through the cost components so you can budget accurately.
Setup or tooling fees are one-time charges. For laser engraving, the setup cost is often zero or very minimal because the machine simply reads your digital artwork file. For silk-screen printing, the factory needs to make a screen — this usually costs between $20 and $80 depending on logo complexity. For stamping, a custom die can cost $100 to $500 or more because it is a physical mold.
Per-unit cost increase is where most buyers are pleasantly surprised. Laser engraving on aluminum handles adds roughly $0.02 to $0.10 per piece, depending on logo size and detail. Silk-screen printing adds about $0.03 to $0.08 per piece. These are small numbers that barely move your landed cost.
Sample fees are separate. Most factories charge $30 to $100 for a branded sample, including the handle itself and the logo application. Some suppliers will refund this fee if you place a bulk order. At our facility, we typically produce branded samples within 3 to 5 days.
MOQ Considerations
The MOQ for branded handles is usually higher than for stock items. Here is why: once the factory sets up the laser program or prepares the screen, it needs to run enough pieces to justify the time. A stock handle might ship with no MOQ from inventory, but a branded handle typically requires a minimum run.
| Branding Method | Typical One-Time Fee | Per-Unit Cost Increase | Typical MOQ |
|---|---|---|---|
| Laser engraving | $0 – $50 | $0.02 – $0.10 | 200 – 500 pcs |
| Silk-screen printing | $20 – $80 | $0.03 – $0.08 | 300 – 500 pcs |
| Pad printing | $20 – $80 | $0.03 – $0.08 | 300 – 500 pcs |
| Stamping / embossing | $100 – $500 | $0.05 – $0.15 | 500 – 1,000 pcs |
| Packaging only | $50 – $200 (printing plates) | $0.01 – $0.05 | 500 – 1,000 pcs |
How to Keep Costs Low
Here are a few practical tips from our experience shipping branded handles to wholesalers in Vietnam and the Middle East:
- Combine logo branding with a larger order. If you are already ordering 1,000 handles, adding a logo is almost negligible in cost.
- Use laser engraving for simple logos. It requires no consumables like ink, so the per-unit cost stays very low.
- Ask if the setup fee is refundable. Many factories, including ours, will waive or credit the setup fee on orders above a certain quantity.
- Avoid over-designing. A clean, one-color logo engraved on the handle looks professional and keeps costs down. Multi-color printing requires more passes and higher fees.
The key takeaway is this: logo branding is a standard service, not a luxury add-on. The cost barrier is low. The real cost of not branding is the lost opportunity to build your name in the market.
What technical files and instructions must I provide to ensure my logo is printed correctly?
Over the years, we have seen dozens of logo misprints that could have been avoided with one simple thing: a clear, complete artwork brief from the buyer. The factory is not a design studio. It will execute what you give it. If you give vague files, you get vague results.
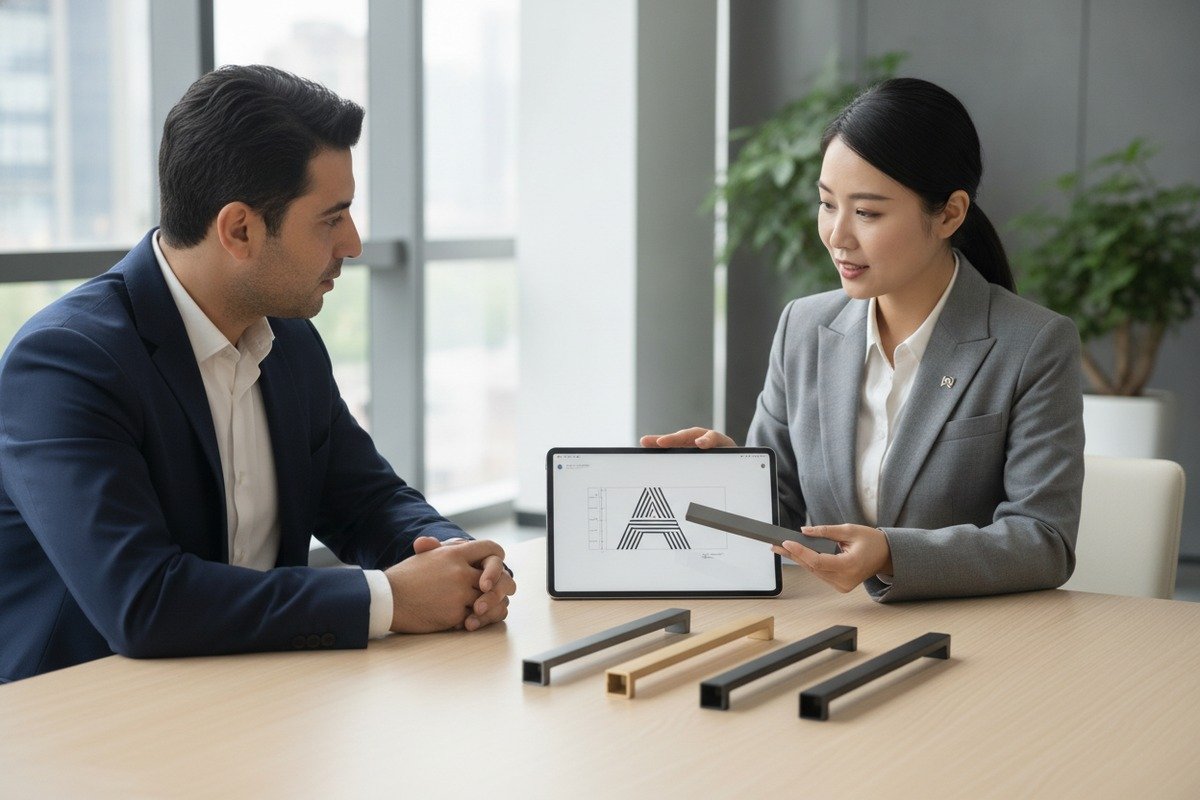
You must provide a high-resolution vector file of your logo in AI, PDF, or CDR format, along with exact dimensions, Pantone color codes if applicable, precise placement instructions with a position diagram, and the preferred branding method — all documented in a single written specification sheet.
The Artwork File
The most important thing is the file format. Raster images like JPG or PNG lose quality when scaled. Vector file 10s like AI (Adobe Illustrator), PDF, EPS, or CDR (CorelDRAW) keep sharp edges at any size. For laser engraving, the factory converts your vector file into a path that the machine follows. If your file is blurry or low-resolution, the engraving will look rough.
Send your logo in at least two formats: one vector file and one high-resolution PNG or JPG for visual reference. Make sure all fonts are converted to outlines so the factory does not need your specific font files.
The Specification Sheet
Do not scatter your instructions across multiple emails or chat messages. Create a single document — a PDF works best — that covers everything the factory needs. Here is what to include:
| Item | What to Specify | Example |
|---|---|---|
| Logo file | Vector format, outlined fonts | Logo_BrandX_v3.ai |
| Logo dimensions | Width × height in mm | 25 mm × 8 mm |
| Placement | Face, side, back, centered or offset | Center of handle face, 5 mm from top edge |
| Branding method | Laser, silk-screen, pad print, stamp | Laser engraving |
| Color | Pantone code or "natural engrave" | Pantone 877 C (silver) or no fill |
| Handle finish | Match method to finish | Matte black anodized |
| Orientation | Horizontal, vertical, or angled | Horizontal, text reading left to right |
| Tolerances | Acceptable deviation in position/size | ±1 mm position, ±0.5 mm size |
Common Mistakes to Avoid
Sending only a WeChat photo of your logo. This happens more often than you would think. A photo taken from a screen is not a production-ready file. Always send the original design file.
Not specifying placement. If you say "put the logo on the handle" without indicating where, the factory will decide for you. On a recessed cabinet handle with a deep geometric channel, the logo could end up on the outer face, the inner grip surface, or the side edge. Each looks completely different.
Forgetting about the finish. A silk-screen logo in white ink looks great on a matte black handle. But the same white ink on a champagne gold handle might look cheap. Always consider how the logo color interacts with the base finish.
Skipping the written spec. Verbal agreements over the phone or in a quick message are risky. Treat your logo specification like a contract document. Put it in writing, get the factory to confirm it in writing, and reference it in your purchase order.
A Practical Tip
When we work with new buyers, we encourage them to send us a simple hand-drawn diagram showing where the logo should sit on the handle. Even a sketch on a photo of the handle, with arrows and measurements, is incredibly helpful. It removes ambiguity faster than a paragraph of text.
Can I request a physical sample with my logo to verify the quality before bulk production?
We always tell buyers: never approve mass production based on a digital mockup alone. A 3D rendering on a screen cannot show you how the laser mark catches the light, how the ink feels under your thumb, or whether the logo sits perfectly centered on the actual handle profile.
Yes, you should always request a physical pre-production sample with your logo applied to the actual aluminum handle. Most Chinese suppliers offer this service for a small fee, typically $30 to $100, and it is the single most important step to prevent costly errors in your bulk order.
Why Physical Samples Matter
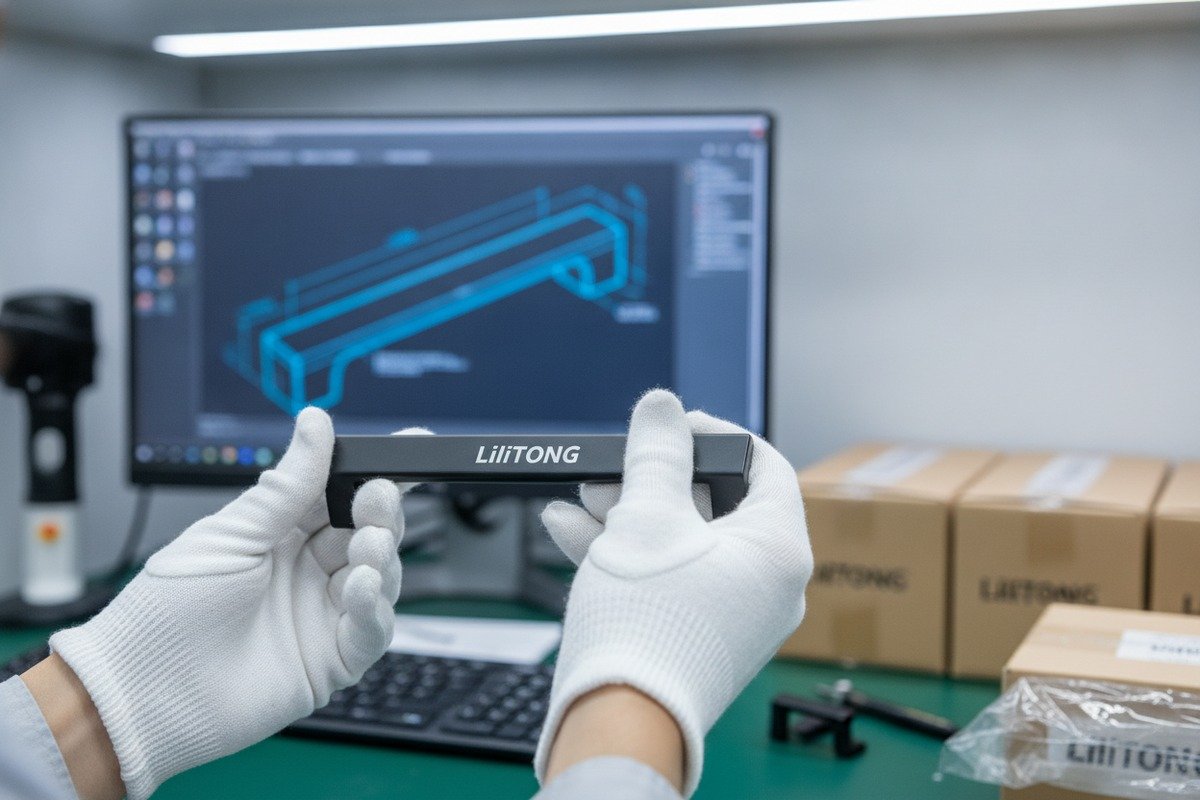
A physical sample tells you things a photo or rendering cannot. You can check the engraving depth, the sharpness of fine lines, the exact color match of printed ink, the position accuracy relative to handle edges, and the overall visual impact of your brand on the product. You can also test durability — scratch the logo with your fingernail, wipe it with a cleaning agent, and see if it holds up.
At our facility, when a buyer requests a branded sample, we run it through the exact same process that will be used in mass production. The same laser machine, the same settings, the same handle batch. This way, the sample is a true representation of what thousands of pieces will look like.
The Sample Approval Process
Here is how the process typically works:
Step 1: Submit your logo spec. Send the factory your vector artwork, specification sheet, and placement diagram as described in the previous section.
Step 2: Factory prepares a digital proof. Before making the physical sample, many suppliers will send you a digital mockup or a photo of the logo positioned on the handle. Review this carefully and approve or revise.
Step 3: Factory produces the physical sample. This usually takes 3 to 7 days. The factory applies your logo to one or more actual handles.
Step 4: Ship the sample to you. Express shipping from China to most countries takes 3 to 5 days via DHL or FedEx. Some suppliers send sample photos first to save time while the physical sample is in transit.
Step 5: You inspect and approve. Check every detail: position, size, clarity, depth, color, and consistency with your spec sheet. If something is off, send clear feedback with photos and request a revised sample.
Step 6: Written approval. Once satisfied, confirm your approval in writing — an email or a signed sample confirmation form. This becomes the reference standard for mass production and quality inspection.
What to Check on the Sample
Look for these specific things:
- Logo position. Measure it. Is it centered? Is the distance from the edges consistent with your spec?
- Logo clarity. Are fine lines sharp? Are letters legible? Is the logo free of burrs or rough edges?
- Engraving depth or ink adhesion. For laser marks, run your finger over it — you should feel a slight texture. For printed logos, try rubbing it firmly with a cloth.
- Finish compatibility. Does the logo area blend with the surrounding finish? Is there any discoloration, burn marks, or surface damage around the logo?
- Consistency potential. Ask the factory: can you maintain this quality across 5,000 or 10,000 pieces? What QC steps will you use?
Protecting Yourself With the Approved Sample
Keep the approved sample. Store it safely. If there is ever a dispute about quality during or after mass production, the approved sample is your benchmark. We always advise buyers to request two identical samples — one to keep as a reference, and one to send back to the factory so both sides have the same standard on hand.
Some buyers also ask us to keep a "golden sample" at our factory. This sealed, signed sample sits in our quality control room and is used by our inspectors to compare against production output. It is a simple practice that prevents a lot of problems.
Conclusion
Getting your brand logo onto aluminum furniture handles from China is straightforward when you follow a clear process: choose the right branding method, provide precise artwork and specifications, request a physical sample, and approve everything in writing before mass production. If you need help getting started, reach out to us at Al**************@********************************************te.com — our team is ready to walk you through every step.
Footnotes
1. Explains the concept of Original Equipment Manufacturer (OEM) in a manufacturing context. ↩︎
2. Defines metal embossing as a technique to create three-dimensional crafts from flat metal sheets. ↩︎
3. Introduces the Pantone Matching System for standardized color reproduction across various industries. ↩︎
4. Defines a pre-production sample as a prototype made to specifications before mass production. ↩︎
5. Defines laser engraving as a non-contact process for creating permanent markings on materials. ↩︎
6. Describes the process of screen printing, also known as silkscreening, for transferring designs. ↩︎
7. Explains pad printing as an offset printing process transferring 2D images onto 3D objects. ↩︎
8. Describes powder coating as a dry finishing process applied electrostatically and cured with heat. ↩︎
9. Explains anodizing as an electrochemical process converting aluminum surfaces into a durable oxide finish. ↩︎
10. Explains vector files as images built by mathematical formulas, allowing infinite scaling without quality loss. ↩︎