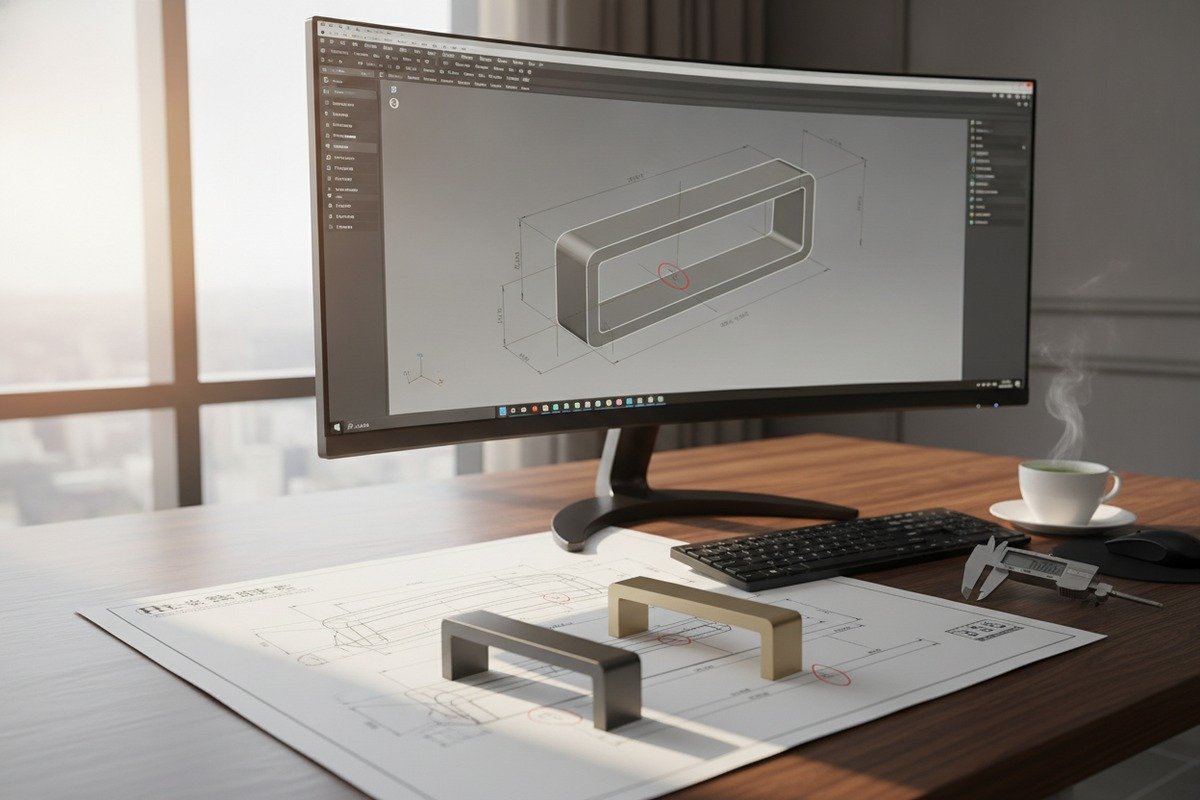
Every week, our engineering team reviews drawing packages from overseas buyers. The most common problem we see is not bad design—it is missing information. A buyer sends a photo, maybe a rough sketch, and expects a precise quote. Then the sample arrives wrong, the finish looks different, and the project stalls. This cycle wastes time and money for both sides.
To get accurate aluminum furniture handles from a Chinese supplier, you must provide a complete technical package: dimensioned CAD drawings in standard formats, specified aluminum alloy grade, exact surface treatment and color codes, critical tolerances, mounting details, packaging instructions, and a clear sample approval workflow before mass production begins.
This guide walks you through each part of that technical package. Whether you run a furniture factory or distribute building materials, the steps below will help you eliminate ambiguity and get exactly the handles you need—on time and on spec.
What CAD file formats should I provide to ensure my aluminum handle designs are accurately produced?
Our factory receives files in every format imaginable—sometimes even phone photos taken at an angle. The ones that move fastest from quote to production share one thing in common: they arrive in formats our CNC programmers and mold engineers can open directly.
You should provide 3D CAD files in STEP (.stp) or IGES (.igs) format for modeling and tooling, plus 2D drawings in DXF or PDF format with full dimensions, tolerances, and surface finish callouts. This combination covers both engineering and visual communication needs.
Why File Format Matters
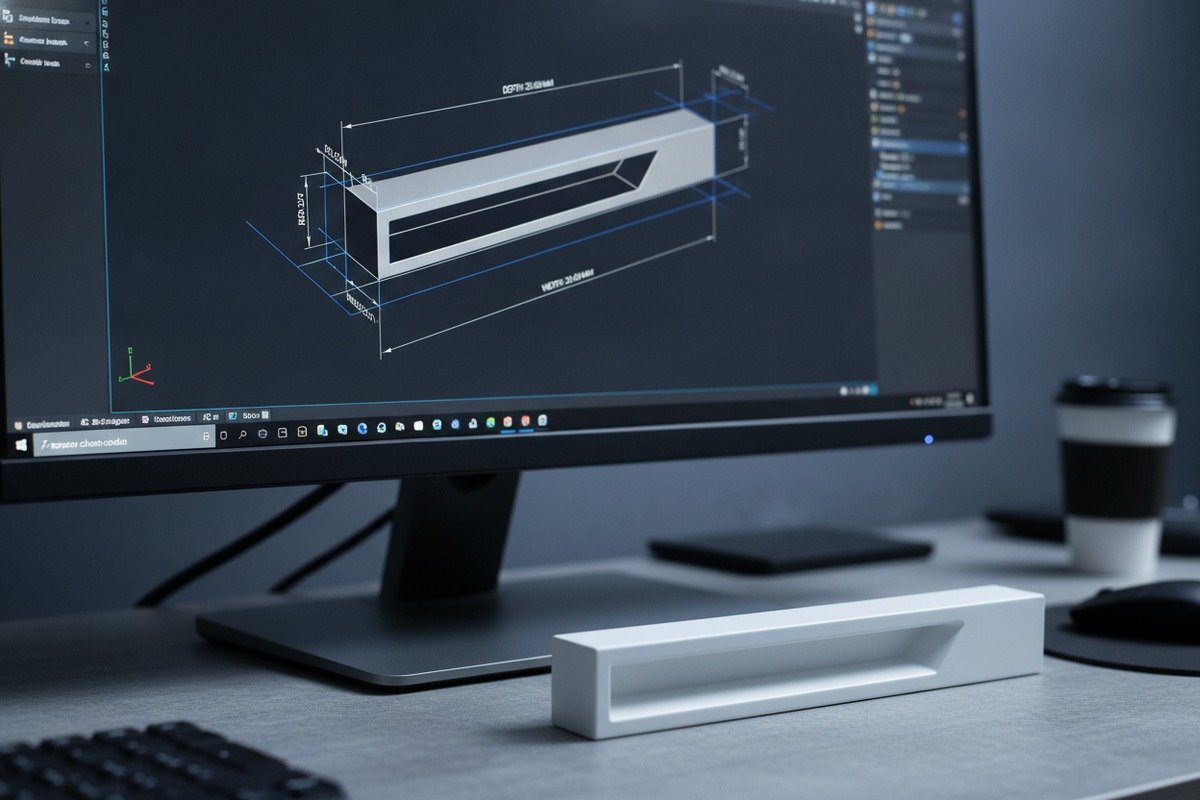
A file format is not just a technical detail. It determines whether the supplier's engineer can open your design on day one or has to spend days recreating it from a blurry image. When our team receives a proper STEP file, we can load it into our CAM software 1 within minutes. STEP (.stp) or IGES (.igs) format 2 We can check wall thickness, identify undercuts, and run a Design for Manufacturability (DFM) review 3 right away. When we receive only a JPEG, the process slows down by days—and guesswork creeps in.
Recommended File Formats
| File Type | Format Extension | Purpose | Who Uses It |
|---|---|---|---|
| 3D solid model 4 | .STP / .STEP | Mold design, CNC programming, DFM review | Tooling engineer, CNC programmer |
| 3D surface model | .IGS / .IGES | Complex curved surfaces, rendering | Mold engineer, product designer |
| 2D engineering drawing | .DXF | Dimension reference, tolerance callouts | QC team, workshop floor |
| 2D printable drawing | Visual reference, communication across teams | Sales, QC, packaging | |
| Native CAD files | .SLDPRT, .DWG, .3DM | Direct editing if supplier uses same software | Design engineer |
What Each File Should Contain
Your 3D file should be a solid model—not a surface-only shell. Solid models let us measure wall thickness, check draft angles for die casting 5, and verify that screw holes align with standard cabinet hardware spacing.
Your 2D drawing should include front, side, and top views. dimensioned CAD drawings 6 Add an isometric view if the handle has complex geometry. Every critical dimension needs to appear on the drawing. Do not assume the supplier will measure from the 3D file alone. Many workshop technicians rely on the printed 2D drawing taped to their workstation.
A Common Mistake to Avoid
Some buyers send only a product photo found online and ask for a quote. Without dimensions, we cannot tell if the handle is 96mm center-to-center or 128mm. We cannot tell if the projection is 20mm or 35mm. A photo shows style. A drawing shows specification. You need both.
If you do not have CAD capability in-house, consider hiring a freelance drafter to convert your sketch into a proper file. The cost is small compared to a failed sample round.
How do I specify the exact surface treatment and color requirements for my custom furniture handles?
On our production floor in Foshan, we handle over a dozen finish types for aluminum handles every month. The number one source of disputes at the sample stage is not shape—it is finish. A buyer says "champagne gold" and imagines one shade. Our anodizing 7 line produces another. Without a shared reference, everyone loses time.
Specify surface treatment by naming the exact process (anodizing, powder coating, brushing, polishing, or sandblasting), the coating thickness, and the precise color using RAL, Pantone, or a physical sample. Include finish texture requirements such as matte or gloss, and define acceptable color variation limits.
Why "Champagne Gold" Is Not a Specification
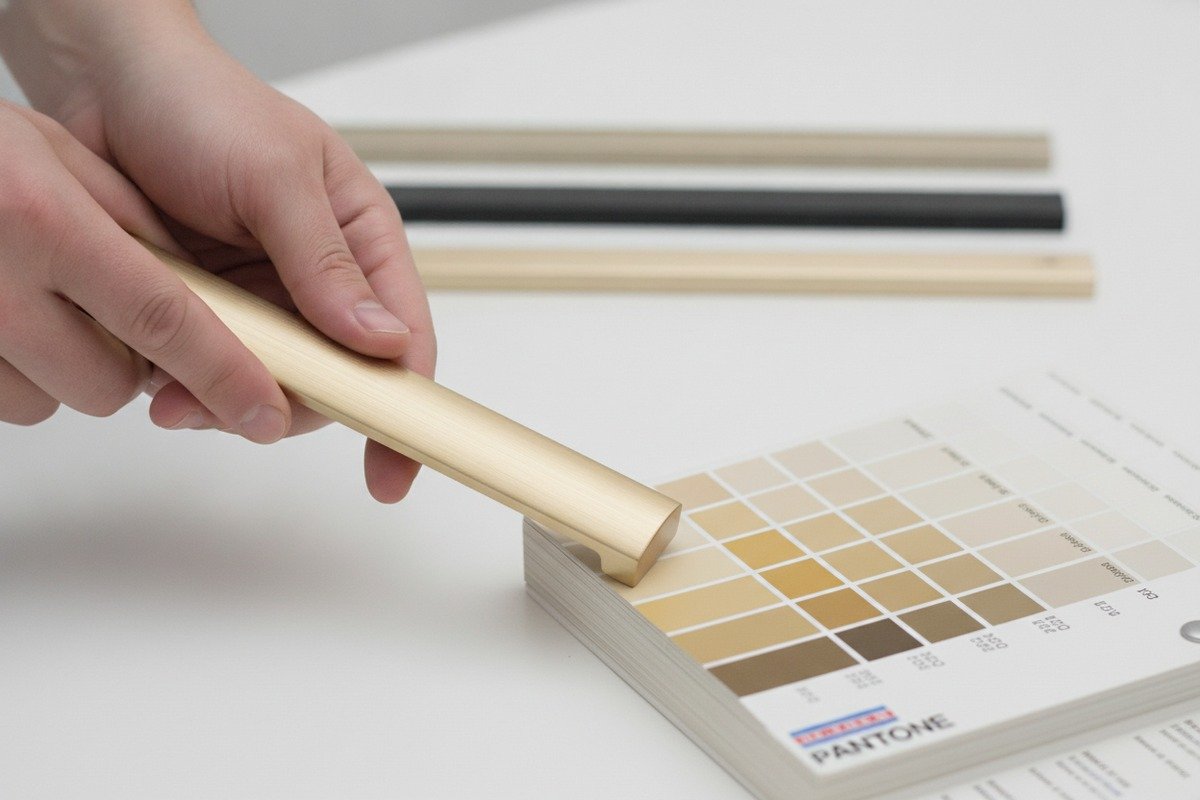
Color names are subjective. "Champagne gold" means different things in different markets. In our experience exporting to Vietnam and the Middle East, buyers in each region have distinct expectations for the same color name. That is why we always ask for one of three things: a RAL code, a Pantone code, or a physical sample we can match on our spectrophotometer. RAL, Pantone 8
Surface Treatment Options for Aluminum Handles
| Treatment | Process Description | Typical Thickness | Best For |
|---|---|---|---|
| Anodizing | Electrochemical oxidation of aluminum surface | 10–25 µm | Metallic tones, durability, fingerprint resistance |
| Powder coating 9 | Electrostatic spray + oven cure | 60–120 µm | Solid colors, RAL matching, scratch resistance |
| Brushing | Mechanical abrasion with fine belts | Surface texture only | Linear grain look, industrial aesthetic |
| Polishing | Multi-stage buffing to mirror finish | Surface texture only | High-gloss decorative applications |
| Sandblasting | High-pressure media blasting | Surface texture only | Matte, non-reflective base for anodizing |
| Electrophoresis (E-coating) | Electrically deposited paint film | 15–30 µm | Uniform coverage on complex shapes |
How to Build a Complete Finish Specification
Your specification should cover these points:
- Process name. State the exact treatment. "Anodized" is better than "coated." "Matte anodized" is better still.
- Color reference. Provide a RAL or Pantone code. If your color does not exist in standard systems—like many champagne or bronze tones—send a physical sample. We keep client samples in a labeled archive for repeat orders.
- Coating thickness. For anodizing, 15 µm is standard for indoor furniture handles. For powder coating, 80 µm is a common target. State your requirement so the QC team can verify with a coating thickness gauge.
- Texture. Specify matte, satin, semi-gloss, or high-gloss. For brushed finishes, indicate the grain direction relative to the handle length.
- Tolerance. Define an acceptable Delta E (ΔE) value for color deviation. A ΔE ≤ 1.5 is tight and suitable for premium products. A ΔE ≤ 3.0 is acceptable for most commercial hardware.
- Performance requirements. State if you need salt spray testing (for coastal or humid markets), UV resistance, or adhesion testing (cross-cut tape test). These requirements affect the treatment process and cost.
A Note on Mold-Based Finishes
For die-cast aluminum handles, the surface after casting is rough. Polishing is needed before any coating. The amount of polishing affects cost. If your drawing marks certain faces as "visible" and others as "hidden" (e.g., the mounting side), the factory can save polishing time on hidden surfaces. This is a simple callout that reduces your unit cost.
Finish Consistency Across Batches
One thing many first-time buyers overlook: finish consistency between orders. We recommend keeping a sealed "golden sample" at both the buyer's location and the factory. This becomes the reference for every future batch. Without it, subtle color drift can occur over months—especially with anodizing, which is sensitive to bath chemistry.
What technical dimensions and tolerance details must I include in my drawings to avoid quality issues?
When our QC team inspects a batch of handles before shipment, they check every dimension the buyer marked as critical. If the drawing has no tolerance notes, we apply our factory's default tolerance—which may or may not match the buyer's expectation. That gap is where quality disputes are born.
Your drawing must include overall length, width, height, center-to-center hole spacing, screw hole diameter and thread specification, handle projection depth, edge radii, wall thickness, and mounting method. Apply specific tolerances to every critical dimension—especially hole spacing (±0.1mm typical) and overall length (±0.2mm typical)—to ensure cabinet compatibility.

Critical Dimensions for Furniture Handles
Furniture handles must fit existing cabinetry. A handle that is 0.5mm too long might not matter visually. But a mounting hole that is 1mm off-center means the handle wobbles or does not install at all. Here are the dimensions that matter most:
- Center-to-center (C-C) hole spacing. This is the most critical dimension. Standard spacings include 64mm, 96mm, 128mm, 160mm, 192mm, and 256mm. Your drawing must show this dimension with a tight tolerance.
- Overall length. Determines visual proportion and clearance between adjacent doors.
- Projection depth. How far the handle sticks out from the cabinet face. Affects ergonomics and door clearance.
- Screw hole diameter and thread. Most furniture handles use M4 screws, but some markets prefer #8-32 or other sizes. State the thread specification clearly.
- Edge radii. Sharp edges can cut fingers. Rounded edges affect the feel. Specify the radius in millimeters.
- Wall thickness. For hollow extruded profiles, wall thickness affects strength and weight. Our minimum for aluminum extrusion handles is typically 1.0mm, but this depends on alloy and profile geometry.
Tolerance Recommendations
| Dimension | Typical Tolerance | Why It Matters |
|---|---|---|
| Center-to-center hole spacing | ±0.10 mm | Ensures screws align with pre-drilled cabinet holes |
| Overall length | ±0.20 mm | Visual consistency across a row of cabinets |
| Handle projection depth | ±0.15 mm | Finger grip comfort and door clearance |
| Screw hole diameter | ±0.05 mm | Proper screw fit—too loose and the handle wobbles |
| Edge radius | ±0.10 mm | Touch feel and safety |
| Wall thickness (extruded) | ±0.10 mm | Structural integrity and weight |
| Surface flatness | ≤0.05 mm/100mm | Flush mounting against cabinet face |
Using GD&T for Complex Handles
For recessed pulls or edge-pull handles—like the minimalist L-shaped profiles our factory produces—simple linear dimensions may not be enough. Geometric Dimensioning and Tolerancing (GD&T) 10 symbols can control flatness, perpendicularity, and position of features relative to a datum. If your handle has a deep geometric channel for a finger grip, the channel depth, width, and position relative to the mounting surface should all be toleranced.
You do not need to be a GD&T expert. But marking your drawing with basic symbols—or simply writing notes like "mounting surface must be flat within 0.05mm" and "channel must be centered within ±0.1mm of handle midline"—gives the factory clear targets.
What Happens Without Tolerances
If you skip tolerance notes, the factory uses its internal standard. For CNC machining, that might be ±0.05mm. For extrusion, it might be ±0.20mm. For die casting, it could be ±0.30mm or wider. These defaults may be acceptable—or they may cause installation failures. The safest approach is to state your requirements explicitly. If you are unsure what tolerance is realistic, ask the supplier. A good factory will tell you what is achievable for your chosen process and alloy.
Mounting Method Details
Your drawing should also show how the handle attaches to the cabinet. Does it use rear-mounted screws through the door panel? Does it use threaded inserts? Is it adhesive-mounted? Does it slide onto a rail? Each method has different design implications. For rear-screw mounting, show the screw length range that accommodates common door thicknesses (16mm, 18mm, 20mm). For concealed mounting, show the clip or rail system with clearance dimensions.
How can I communicate my unique OEM requirements to a Chinese supplier to get a precise quote?
We have worked with furniture distributors across Vietnam, the UAE, and Saudi Arabia for 18 years. The buyers who get the fastest, most accurate quotes are not the ones with the fanciest designs. They are the ones who send us a complete requirements document on the first email. One page of clear information beats ten rounds of back-and-forth messaging.
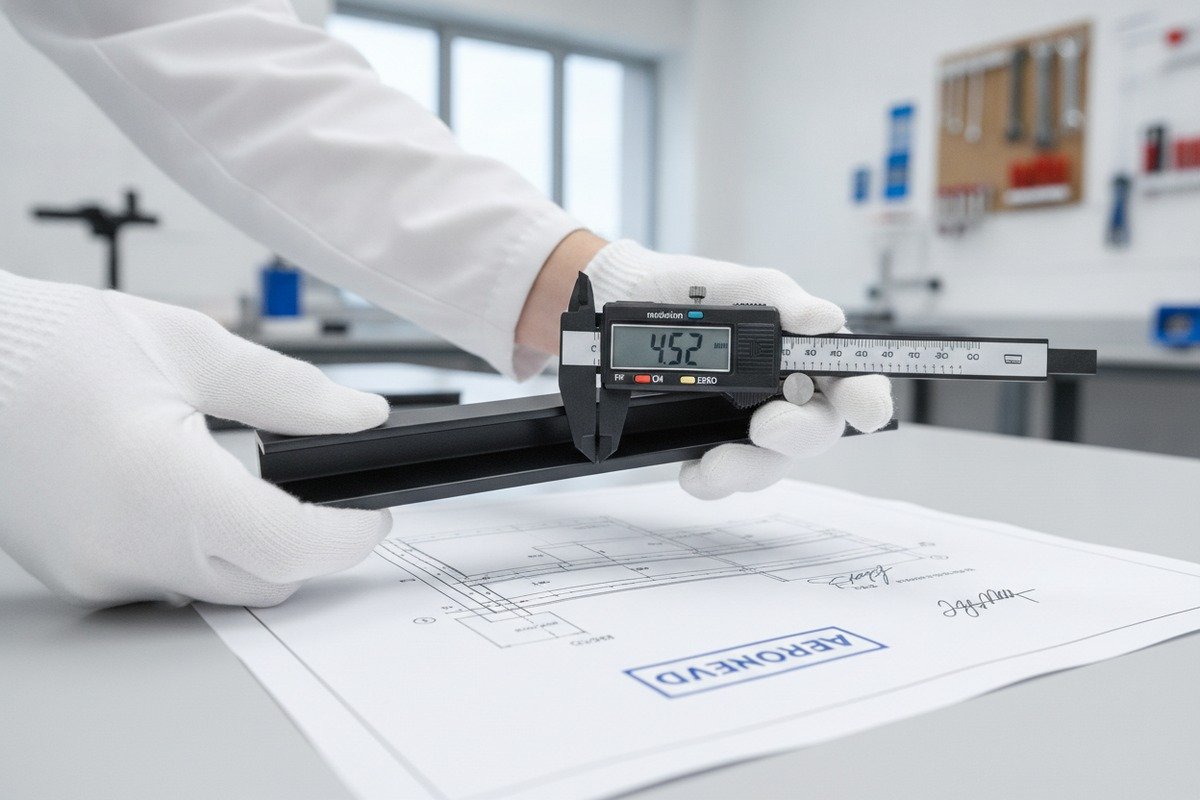
To get a precise OEM quote, send the supplier a single requirements document that includes your CAD files, a technical spec sheet listing material grade, manufacturing process, finish, tolerances, screw type, expected MOQ, packaging requirements, logo details, sample approval workflow, tooling ownership terms, and target delivery timeline.
The Complete OEM Requirements Checklist
Here is what to include in your requirements document. Think of this as your RFQ (Request for Quotation) package.
Product identity:
- Product name and your internal SKU
- Handle type: pull, edge pull, concealed pull, knob, or profile handle
- Reference images for style direction
Material:
- Aluminum alloy grade (e.g., 6063-T5 for extrusion, ADC12 for die casting)
- Solid or hollow construction
- Any weight target or limit
Manufacturing process:
- Extrusion, CNC machining, die casting, or a combination
- If you are not sure, describe the geometry and let the supplier recommend
Finish:
- Surface treatment type and color code
- Texture (matte, satin, gloss)
- Performance requirements (salt spray hours, adhesion test, etc.)
Dimensions and tolerances:
- Attach your dimensioned drawing
- Highlight critical dimensions with specific tolerances
Mounting:
- Screw specification (M4×25mm, for example)
- Screw material and finish (if supplied with the handle)
- Installation method and compatible door thickness
Branding:
- Logo location, size, method (engraved, printed, laser-etched)
- Artwork file in vector format (.AI or .EPS)
Packaging:
- Individual bag, blister card, or retail box
- Inner carton and outer carton specifications
- Labeling and barcode requirements
- Weight and carton size limits for your logistics
Commercial terms:
- Target quantity or MOQ discussion
- Target price range if applicable
- Delivery timeline requirement
- Tooling ownership and tooling cost expectations
- Sample approval process: how many revision rounds, who pays for samples and shipping
How to Protect Your Design
If your handle design is proprietary, take steps to protect it before sharing files. Use a Non-Disclosure, Non-Use, and Non-Circumvention (NNN) agreement tailored to Chinese law. A generic NDA written under US or European law may not be enforceable in China. Consider registering your design with China's National Intellectual Property Administration (CNIPA) before production. These steps cost relatively little and provide real legal leverage if a dispute arises.
Communication Best Practices
Keep your language simple. Avoid idioms, slang, and industry jargon that may not translate well. Use labeled diagrams instead of long text descriptions. Confirm every agreement in writing—WhatsApp messages are fine for daily communication, but formal specifications should be sent as PDF or email attachments with version numbers.
When changes occur—and they always do—update the drawing, increment the version number, and re-send. Do not rely on verbal corrections. Our project managers track drawing revisions by date and version code. If the buyer sends contradictory instructions across multiple channels, it creates confusion on the production floor.
Sample Approval Before Mass Production
Never skip the sample stage. Request a first sample (T1), inspect it against your drawing, and document any deviations. If revisions are needed, update the drawing and request a T2 sample. Only after you approve the final sample in writing should the factory begin mass production. At our facility, we freeze the tooling and production parameters once the buyer signs off. This protects both sides.
Also clarify who owns the tooling. If you pay for the mold or extrusion die, you should own it. Get this in writing. Tooling ownership determines whether you can move production to another factory in the future.
Conclusion
Clear documentation is the foundation of successful aluminum handle sourcing from China. Provide proper CAD files, specify your alloy and finish with measurable standards, tolerance every critical dimension, and package all requirements into one document. The goal is zero ambiguity—so the factory can quote, sample, and mass-produce exactly what you need. If you are ready to start, send your drawing package to Al**************@********************************************te.com and our engineering team will review it within 24 hours.
Footnotes
1. Wikipedia offers an authoritative and comprehensive overview of Computer-Aided Manufacturing (CAM) software. ↩︎
2. Technia explains STEP as an ISO standard for exchanging 3D CAD data. ↩︎
3. Wikipedia provides an authoritative explanation of Design for Manufacturability (DFM). The existing anchor text remains appropriate. ↩︎
4. Wikipedia offers an authoritative definition and explanation of solid modeling. ↩︎
5. Wikipedia provides an authoritative and detailed explanation of die casting. ↩︎
6. Wikipedia provides a comprehensive overview of technical drawings and their standards. ↩︎
7. The Aluminum Anodizers Council is an authoritative source for anodizing processes. ↩︎
8. The official RAL website provides information on their color matching system. ↩︎
9. Wikipedia offers an authoritative overview of powder coating. ↩︎
10. Wikipedia provides an authoritative and comprehensive explanation of Geometric Dimensioning and Tolerancing (GD&T). ↩︎